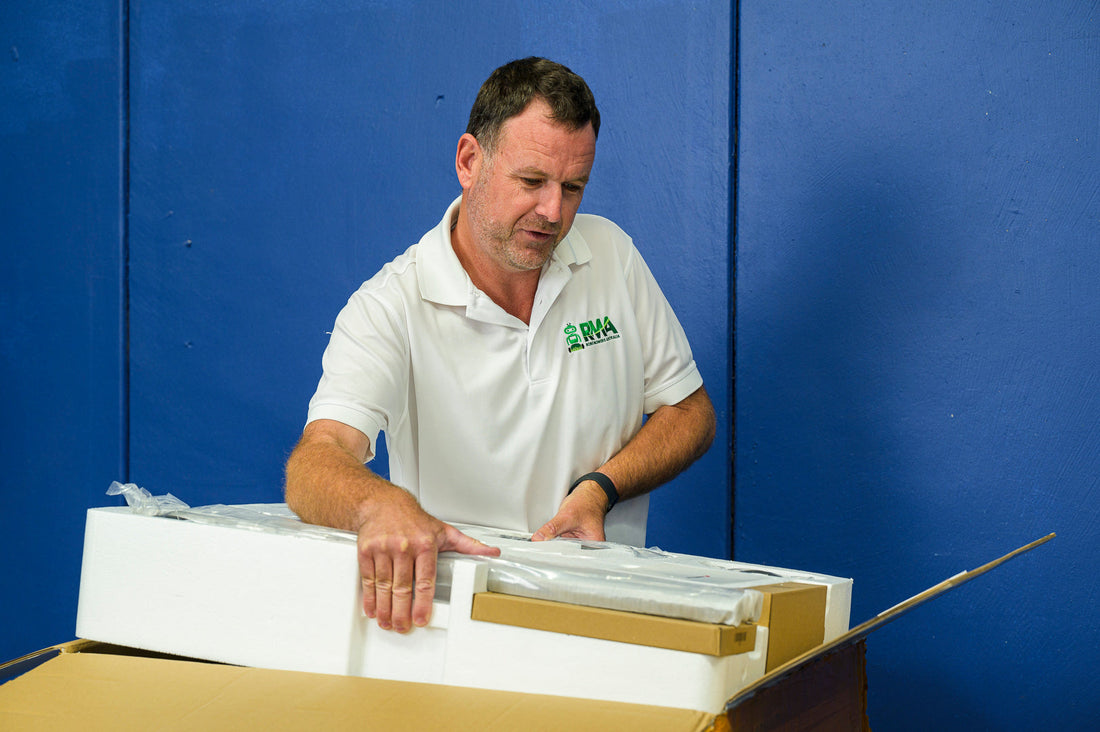
Dirk's Top Tips for Luba 2 Set up and installation
In this blog I give my top tips for installation and set up of your new Luba 2 Robot Lawn Mower by Mammotion. The video version of these tips is at the bottom of the page
- Patience - Don't rush it! Don't give yourself half an hour and think you'll have it all sorted in that time. When you have 2-3 hours free, then start on the unboxing and setup. Rushing will only get you frustrated and annoyed
- Linked to the above point, initial set up including firmware updates will take time. There are 2-3 updates to install, one of which can take up to 20 minutes to download and install.
- To activate the mower, you need to put it on charge. You can't do anything until it has been on the charger for sometime so I suggest starting the charge and coming back after an hour. You'll need plenty of battery to do your mapping anyway.
- When setting up your app account, Mammotion will email you a code which needs to be entered into the app within a couple of minutes. Often the code will go to your junk mail folder so check it. Occasionally it may take more than 2 minutes to arrive, so you'll need to get a new code. Refer to point 1! Once the mower has fully charged, you'll be ready to start your Luba 2 installation
- Plan ahead - think carefully about your Satellite receiver and charging station location. The Satellite (or RTK receiver as it's also called) need to be in an open area with a 360 degree of the sky, with no obstacles like trees, eaves, carports etc over the top or directly beside it. Not placing the receiver correctly is one of the main reasons that users experience issues with operation of the mower.

- The receiver does not need to be connected to the charging station. This is a common misunderstanding. You can either connect it directly into the back of the charging station (round cable with two pins) or run it in a completely separate location with the provided dedicated power supply and 10m RTK extension cable.
- The receiver location is directly related to your maps. Ensure it is mounted securely and cannot move in the wind, by children etc. If you or someone else move the receiver, the entire yard will need to be remapped.

- The mower requires a strong 2.4Ghz wifi connection, preferably in the area where you will locate the charging station. It will not pick up a 5Ghz wifi signal. If you have connection issues initially, hotspot from your phone and do the initial set up off that, then add your home wifi later on.
- The charging station needs to be flat and level with the ground around and especially in front of it. Placing it on a large concrete paver or hard surface is ideal. Users have experienced charging issues over time when the front wheels (which don't sit on the charging station) sink below the level of the base, causing the charging contacts on the rear of the mower to not connect properly.


- The charging station can be located under a roof or covered area, as long as the mower doesn't need to travel more than 5m in a straight line to pick up satellite signal when leaving the charging station.
- Metal fences like colorbond will affect the satellite signal and can cause navigation errors when the mower is operating in close proximity to them. If this happens, modify the boundary further away from the fence until you have no more issues.
- When mapping against walls and other vertical objects, stay about 10cm off them to ensure the mower won't hit them when satellite signal is weak or the mower is turning. Make gentle curves on inside corners where there are vertical surfaces adjoining the corner to avoid the bumper hitting them every time it goes around the perimeter.
- Mow your lawns before sending Luba out to work for the first time. This way Luba can maintain them at your preferred height. Remember, it's not a slasher
- Create no go zones around all trees ad other fixed obstacles in your lawn. The camera vision doesn't work at night and to avoid any errors, it's best to add obstacles into the map. That way you can do a perimeter cut around your no go zones as well.
- Try and only mow when the grass is dry to avoid the underside of the deck from getting gunked up with wet clippings. Not always possible, but try to avoid cutting wet grass as much as possible
- A common misconception is that the rated size of the mower means it will cut that area in one charge. This is not the case.
- How much area the Luba can cover in one charge depends a lot on the length of the grass, the mowing speed, number of obstacles etc.
Dirk's Top Tips for Successful Luba 2 installation:
Here is the link to my video tutorial on Luba app set up
Hopefully this was helpful. If you want to know more about the Luba 2 range, you can view all the models here
2 comments
Hi Dirk, thank you for this article.
You comment about metal fences did resonate. We do have a colorbond screen at the side of a narrow path that the mower needs to traverse. The robot struggles at the end of the strip when returning to the charging station. However, when mowing the the strip itself and then the separate area next to it the mower is working just fine. Planning the tasks so the mower does not run out of battery on the other side of the strip helps to avoid the issue.
Also, we do have a metal pool fence, with bars spaced about 10 cm apart. When I use the follow perimeter for returning to the charging station the robot sometimes gets confused next to it and stops, requiring manual intervention. However, the robot seems unaffected by it while mowing. Ordering the mowing sequence creatively also seems to help avoid these issues.
Anyhow, even with the robot sometimes requiring attention and regular maintenance, it is still a lot less work than mowing the lawn with the ride on mower. And I do love the visible mowing lines it leaves behind.
Hi there, my luba-2 robot was connecting to the 5GHz WiFi on an SSID that supports both, 5GHz and 2.4GHz. Initially I was not concerned since the manual states that the mower only supports 2.4GHz, which is not the case. My network controller clearly showed the robot connected using 5GHz. Since the 5GHz WiFi has less range it appears that this leads to instability in the WiFi connection with the app on the phone not being able to connect to the mower using the remote connection at lot of the time and in my case especially when the robot was in the charging station. I am now using a 2.4GHz only WiFi SSID forcing the mower to connect using 2.4GHz, hoping that this will help. Note that the RTK connected to the 2.4 GHz WiFi signal and skipped the 5GHz.